I ran 5km twice during Golden Week, and once again today. It gets easier every time. I'm impressed that my body can evolve and adapt, even at this age.
The other thing I wanted to do during Golden Week was alter my new, cheap jeans. I figure, the expensive ones are not going to fit, the cheap ones are not going to fit either, so it makes sense to go with the cheaper one. Then, you can beat the system by customizing them to fit you. Because it's not your fault the clothes don't fit you in the fitting room.
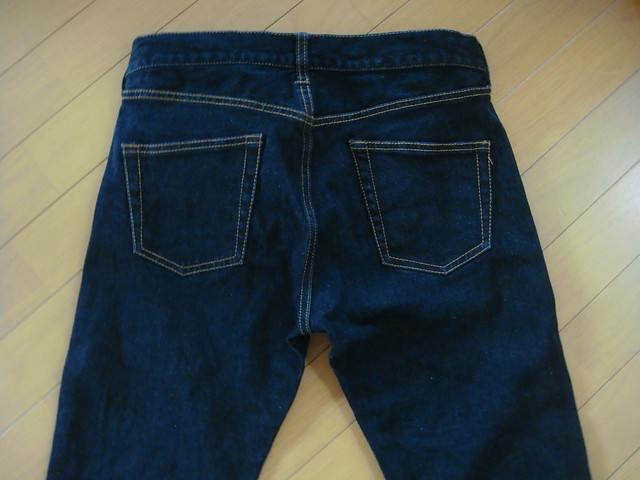
So here we have a pair of low end jeans, washed once.
For these jeans to fit, they need to be 5 cm narrower at the waist. 5 cm=2.5 cm on each side.
I blogged about taking in the waist of dress trousers about this time last year. The basic premise is the same: you remover the belt loop, rip out part of the waistband, slim the waist, shorten the waistband, and sew everything back together. However, there is one big difference. You can't slim jeans using the back center seam like you can with dress trousers, because of the double row of stitching there. Actually, you probably could, but most people would probably regret it. The double stitching is usually done on a specialized double stitching machine. The two rows are stitched at once. Amateur tailors don't have that kind of hardware or skill.
I decided to sew darts instead. Initially, I was going to do one 1.25 cm dart on each side, but I decided that was going to be too big. I opted for 2 darts on each side.
So here's the plan:
1. Rip out belt loop
2. Rip waistband from yoke panel, about 15 cm to each side of center seam
3. Sew 2 darts on each side
4. Shorten waistband
5. Sew everything back together again
6. Admire my bottom in the mirror :P

(No, I don't have an image for step 6. Did you want one??)

I ripped out the topstitching on the waistband. Of course, I pressed everything before any sewing.
One interesting thing I noticed was that the stitching on the waistband was normal machine stitching and not chain stitching. Go check your nice jeans. Probably nearly all the stitches are chain stitched, that is, the stitches look like normal stitches on the outside, but on the other side, they look like a chain. My cheap jeans had chain stitching on the side seams and the crotch seams but not the waistband. Maybe this was one way they cut costs. Chain stitch machines are more expensive and more difficult to operate.
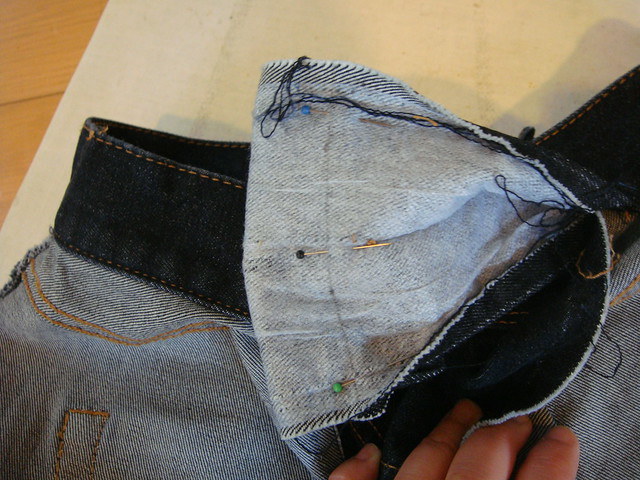
This is the sew line for shortening the waistband 5 cm. After stitching along this line, I cut open the loop, trimmed the seam, pressed it open and removed the interfacing, just like the dress trousers.
Oh, I almost forgot. Please remember to change your sewing machine needle to a denim weight needle. (Do not ask me how I know this. It has nothing to do with ruining a whole package of sewing machine needles the last time I altered jeans. Nope, not at all.)
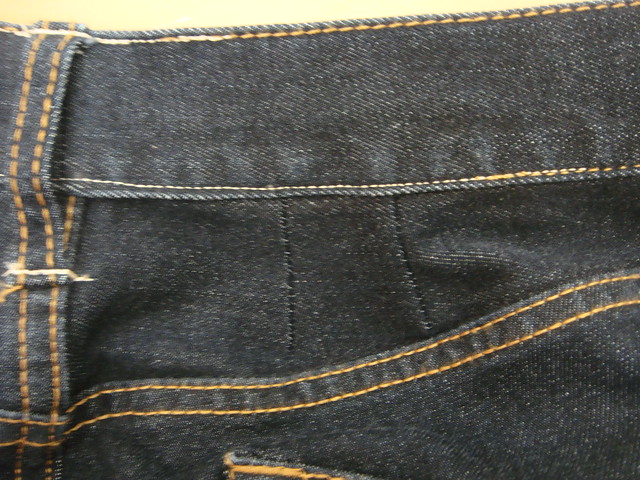
Can you see the two darts? I stitched the darts and the waistband shortening seam with navy blue thread, and the topstitching was done in thread for denim I had lying around the house. The new topstitching doesn't match the old topstitching, but it'll do for now.
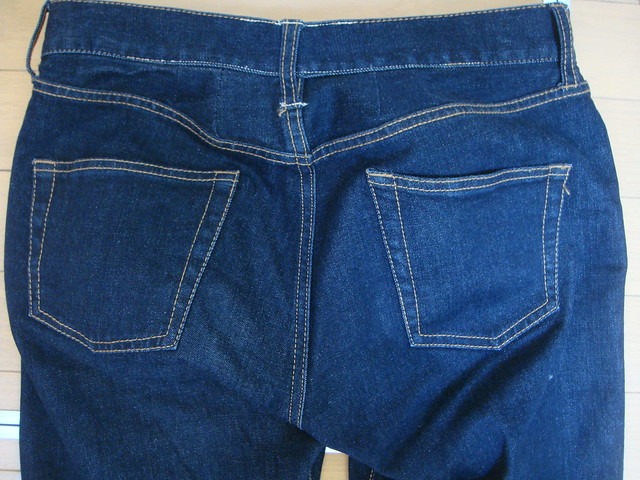
And there you have it! The stitching is slightly crooked, and the color doesn't exactly match the original stitches, but I think it looks better than when it didn't fit. Maybe someday I'll get around to finding thread that matches better and re-doing the stitching.
Maybe.
2 comments:
I am always so impressed by your altering projects. And I love watching the process. And you will probably be the only person to notice the different color thread.
You and I will notice it, but if we ever see each other again, we will be much too excited to think about whether alteration topstitching color matches.
Post a Comment